


Wall drawing paint: Everything You Need to Know About Mural Wall Painting (DIY)
30 Beautiful Wall Art Ideas and DIY Wall Paintings for your inspiration
DIY Wall art ideas : Gone are the days of boring wallpapers, it’s the time to get more creative with wall art designs. Do you want to do a makeover for your baby room? Well you can go all cartoony or use a splash of popping colors and get creative with DIY wall art. Are you planning on a party at home, you must be bored with your old wall paintings, well it’s time to get creative and get dirty, try one of these DIY wall art and surprise your guests. If you are from a large family, you sure would love to have all their pictures with you, so here is a great wal art idea for having all their pictures at one place. Paint an amazing banyan tree or just about any tree which has plenty of branches, let the framed pictures sit on those branches and you have done an amazing wall painting. We have put together some of the best wall art ideas for your perfect home makeover. If you liked this post, please share them with your friends and visit our website for more such inspirational stuff.
Beautiful wall art ideas Creative wall art ideas wall art ideas floral design wall art ideas tree
wall art ideas city and birds beautiful wall art ideas tree wall decals art ideas – butterfly music design
kitchen wall art ideas
creative wall decals art ideas
wall art decals ideas for tea table
wall decals art ideas for family photos
wall art decals ideas
wall painting for bedroom
wall tree painting for bedroom
wall painting for kids room
wall painting tree with birds
wall painting ideas
wall decals painting ideas for girls
wall painting ideas
wall painting ideas for living room
diy wall decals art
creative diy wall art
diy wall decals art
diy wall art idea with family photos
diy wall art bed room with family photos
wall art for kids
wall art decals for kids room
wall art for kids
wall decals art for kids
wall art for kids
See All Paintings | Drawings | Wall Painting Ideas | Wall Art Ideas | Street Art | 3D Paintings | Illusion Art | Types of Paintings | Oil Painting | Watercolor Paintings | Watercolor Paintings
PAINTING A WALL MURAL – The Ink Bucket
It’s been almost a year since my first wall mural at Fabcafe but my fascination with hand-painted walls dates back to the summer of 2014 when a senior from work and a very good friend took me to a beautifully painted cafe in Delhi for lunch. I was amazed at the walls and even more amazed when I found out that the walls were hand-painted.
I could instantly relate to the illustrations and knew this is what I would love to do someday.
Over the years, I have realized that when it comes to a wall mural, there are so many possibilities, permutations, and combinations, that you don’t have to be a skilled artist to create a beautiful wall. I am no expert either and what I am about to share with you is merely out of my own personal experience and some practice. I still remember how intimidated I got looking at a big wall before I started painting my first mural ever but that ended the moment my brush touched the wall. It’s been an incredible journey since then and one of my favourite things to do now 😀
WHAT PAINTS AND BRUSHES TO USE AND WHERE TO FIND THEM :
Acrylic paints work great on almost all surfaces. They are bright, opaque and the good quality ones are even water and light resistant. Even if you are a beginner, choose your brands and colors wisely because that does make a lot of difference. You could start with Pebeo studio acrylics or Camel artists acrylics ( easily available ) they are quite pocket-friendly and have a nice smooth texture. Some other brands that I use and really like are Daler-Rowney, Winsor and Newton and Golden. These are available on Amazon and certain other offline stores that stock professional art supplies.
I started painting with my regular Faber Castell brushes and often now add different shapes and sizes as and when needed. For larger areas and base coats, use flat hard bristle brushes or thick round brushes and finer ones for top layers and details.
HERE ARE SOME BASICS TO REMEMBER WHILE PAINTING A WALL :
- Prepare the wall that you will be painting on – Before you begin transferring your paint to the wall, make sure the wall is clean of any impurities, dirt or dust. For instance, unwanted grains, oil or grease might hamper your artwork once you start painting, so get rid of those before you begin.

- Create a theme for your artwork and indulge in a little space design – Look around and see what theme you’d want that space and your mural to reflect, bright, bold, minimal etc. This is also a good stage to come up with a color palette and how much of the wall would you want the mural to cover and the approximate proportion of the artwork you’ll have to work on, for e.g, square, 4:3, 6:9, landscaper, portrait etc.
- Start designing the artwork – One of the best ways is to keep a proportion in mind and start designing accordingly. For eg. if you wall is 10×10 feet, work on a 1ftx1ft area so that you know how much to blow it up while transferring it on the wall.
- Transfer the artwork on the wall using on of the following ways –
- Grid method – Create a grid using horizontal and vertical lines on your artwork and the same on the wall and transfer each box onto the respective box on the wall. For e.g. – Divide the 1ftx1ft artwork into 10 columns and 10 rows which gives you 100 unique boxes. Divide the 10ftx10ft wall also into 10 columns and 10 rows. copy the artwork on each box on the paper to the corresponding box on the wall. Once all the boxes are done, you’ll have the blown up version of your paper artwork on the wall. You can use as many rows, columns and boxes as you need. Sometimes, 4 is enough and sometimes, more than 10 might be needed for really big murals.
- Free hand drawing – This is my favourite way. You don’t need to be too precise sometimes especially with botanicals. Go ahead, and draw free hand the way you feel like, no one’s going to know.
- Projector transfer – Sometimes you need very precise artworks, e.g.. certain logos etc. In those cases, create or use a digital file and project it on the wall using any projector. This makes it super easy to trace the lines and shapes and once you have done that, color it in.
- Grid method – Create a grid using horizontal and vertical lines on your artwork and the same on the wall and transfer each box onto the respective box on the wall. For e.g. – Divide the 1ftx1ft artwork into 10 columns and 10 rows which gives you 100 unique boxes.
- Start painting using multiple techniques to make it simple for you and to add depth and interest to your artwork. You could even go crazy with the supplies you use. Try experimenting with different kinds of brushes, sponges etc to create textures and interesting strokes on the wall.
- Start with the lightest color to create a base coat and move on to darker colors. Acrylic colors are opaque and once a layer dries, you can easily coat it with another without disrupting the base layer. You can add as many layers, shades as you want.

 Divide the 10ftx10ft wall also into 10 columns and 10 rows. copy the artwork on each box on the paper to the corresponding box on the wall. Once all the boxes are done, you’ll have the blown up version of your paper artwork on the wall. You can use as many rows, columns and boxes as you need. Sometimes, 4 is enough and sometimes, more than 10 might be needed for really big murals.
 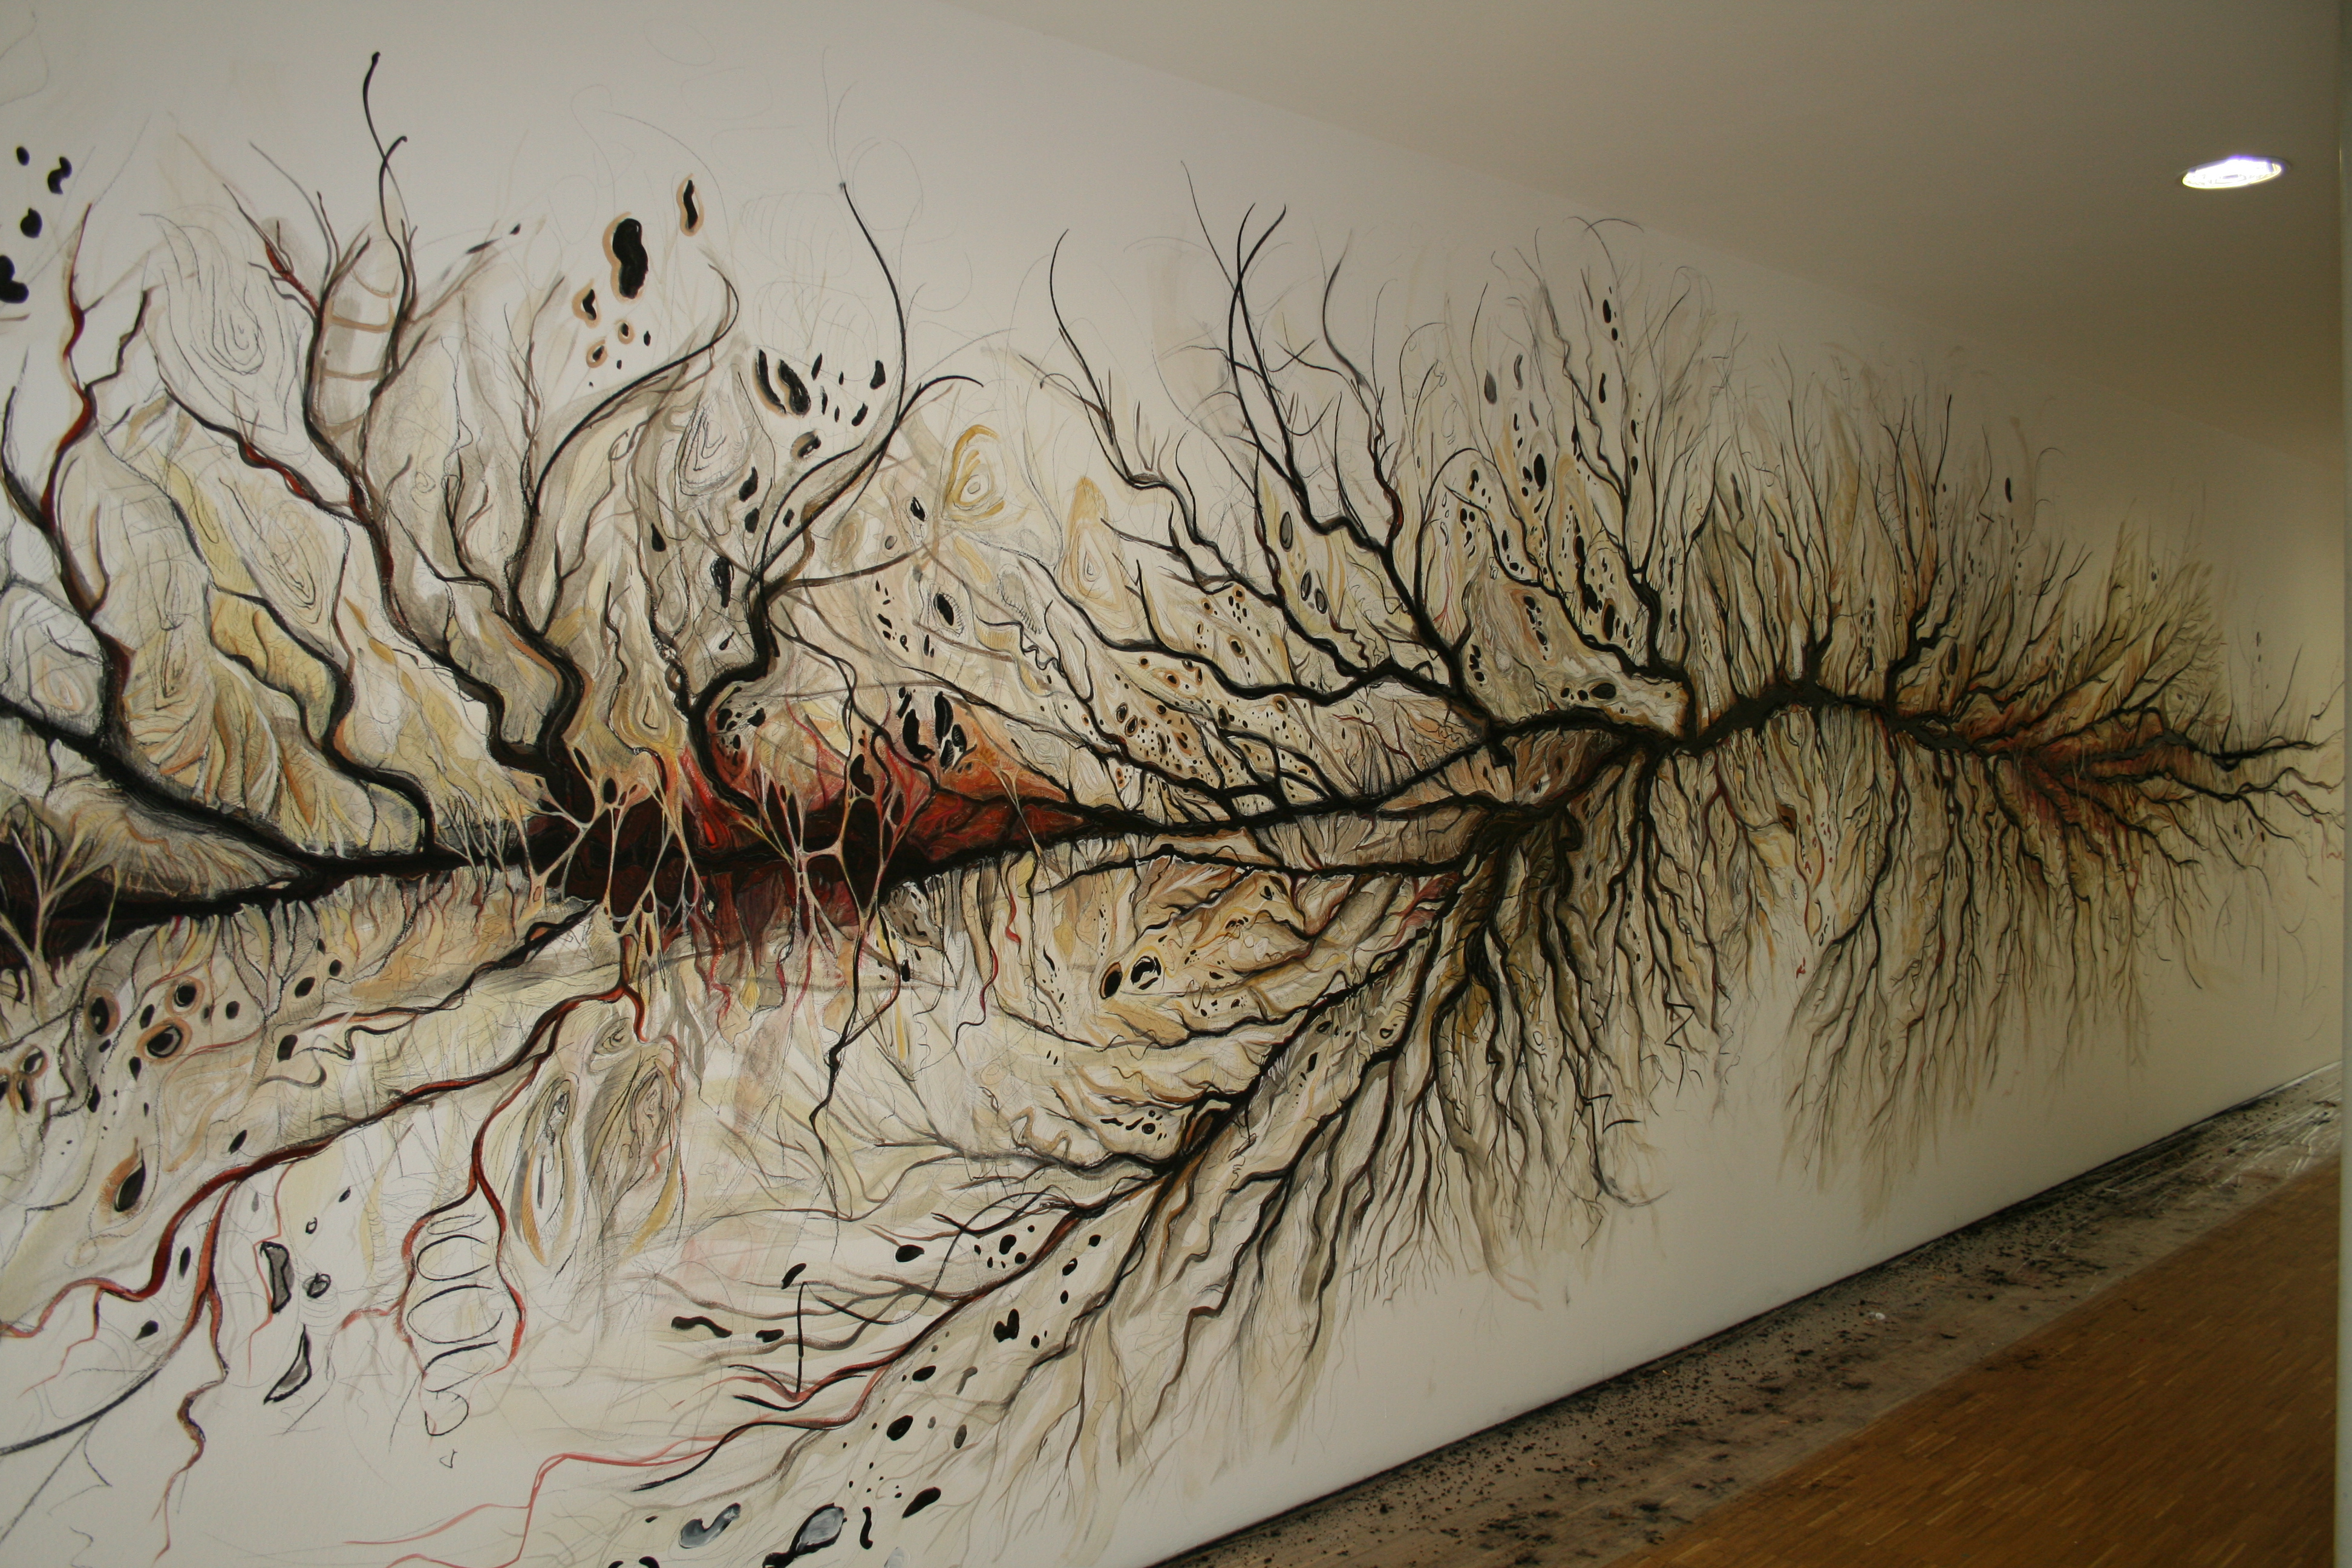 You could even go crazy with the supplies you use. Try experimenting with different kinds of brushes, sponges etc to create textures and interesting strokes on the wall.
 These are just some guidelines and basics that I wanted to share with you all. However pls don’t feel the pressure to follow any of them if you don’t feel like. The first time I started painted a wall, it was a small wall in my room and I started without anyone teaching me how to paint on a wall. I treated it like another paper and started painting the way I would usually do. Slowly, I got a hang of what colors go together well and what tools work for me the most. The reason I am telling you this is that the above-mentioned points might give you a starting point or a direction but you are going to have most fun and create the best that you can if you forget the existing rules for a while and create your own new rules or mix it up with what I have shared with you.
Most importantly, Don’t be scared of ruining a wall or two because there is nothing that can’t be fixed and because it’s so very important to make horrible mistakes before you create that one thing that you can be proud of.
Hope you create beautiful walls around you and I can’t wait to see. Don’t forget to take pictures and tag me on instagram if you share them, I would love to see what you come up with 🙂
Feel free to ask anything else that I might have missed out on in the comments below!
April 26, 2019
—
Vidhi Khandelwal
Comments
What paints are better to use for wall painting
I am often asked various questions about wall painting. There are a lot of questions and they are often repeated, so I decided to answer everyone at once, writing in my blog about each aspect of the painting separately. Today I’ll answer about paints 🙂
So, let’s start with the most common question: “Aaron, what paints should be used to paint the walls so that they stick and don’t wash off?”
I will try to answer as much as possible capturing all the nuances. To begin with, it’s worth figuring out what characteristics wall paint should have, and these are:
- GRIP TO THE SURFACE (wall) so that when dry it does not fall off and does not smear, without remaining on the fingers. It also depends on the preparation of the wall, but I will talk about this later.
- SHIPPING – how many layers of paint will cover the area without gaps.
- COLOR SATURATION – the paint must provide the ability to mix colors, both muted and bright and saturated.
- DISPERSION – this is how coarse or fine the paint is to pass through the airbrush nozzle, but this is only relevant for airbrushing, for a brush this factor is practically not important.
These are perhaps the most important characteristics in choosing paint for painting. Depending on the specifics of the room or the facade of the building, there may still be different requirements for paint, but let’s not go too deep!
Acrylic paint meets these four characteristics!
Personally, for wall painting I use high-quality building acrylic (water-based paint) from Dulux or Tikkurila, in combination with Exmix art paints for airbrushing.
Now I’ll tell you about each separately.
And so, construction acrylic! Why not artistic, you ask?
The answer is: construction acrylic of a good company is much cheaper than art acrylic. It’s one thing if you are given the task of painting 2 square meters. meters of the wall, no question, thin. Acrylic might work. But when it comes to 10 sq. meters or more, and most often they order large volumes, then artistic acrylic will hit your pocket great! Then, building acrylic is much easier to buy, construction supermarkets and shops, you see, more than art shops. Even in such a large and developed city as Moscow, you can often spend a whole day getting to only one place 😉 One day I still tried thin. acrylic firm POLYCOLOR “Maimeri”. They have a large color palette, but the paint is weakly opaque, I spent a lot of time overlapping one area, it was great “pissing me off” 🙂
Another BIG PLUS of building paint is its durability! And if it is covered with a protective varnish, then the painting can even be washed! Paints from Dulux or Tikkurila provide excellent white bases to which you add “to taste” colors that you also buy in hardware stores.
Speaking of colors, most of them are bad, and they won’t make bright saturated colors, but of all that I personally used, TEX colors “Koler Paste” and “Unicoler” do a good job. I don’t cooperate with the above companies in any way, I don’t advertise them, I just give good advice, because I tried a lot of colors and settled on these 🙂
The main thing in choosing building paint is not to buy latex by chance, it DOES NOT SUIT for us for painting! I also strongly recommend not to paint walls painted with latex paint!
Now about the SECOND component – Exmix airbrush paint. This paint is already from the category of professional paints for airbrushing. It is suitable for painting various surfaces, including walls, plastic and even metal. The latter require their own technology for preparing for painting and fixing.
But we’ll focus on the walls 🙂
The paint has a palette of stunningly vibrant colors! It’s great for small nozzle airbrushes, it’s WATER based and mixes great with builder’s acrylic!
It has a rather biting price tag, but it is very economical and its performance is simply impressive! So I highly recommend!
It is also possible to use enamel paint from cylinders (for example, for graffiti). Its advantages: wear resistance, hiding power and color saturation. Of the minuses: SMELL and ACID (you can’t wash off without a solvent !!!) If you paint the facade in the fresh air, then it’s good, but indoors the painting turns into substance abuse (even in a respirator) and most often the rooms for painting are functioning and customers don’t want to inhale all these fumes and spray on the furniture.
Can paint is excellent for NON-DETAIL painting on the facade or indoors in the process of renovation. Personally, I hardly use cans, but there are orders where it is necessary to use pungent-smelling paint in small quantities.
And so, as we see, high-quality materials are needed for high-quality painting, you should never save on this, the result directly depends on this and, of course, on the skill of the artist 🙂
In the next article, I will describe what incidental materials and equipment are used for wall painting in my studio “Aron Honore”.
Thank you for your attention! 🙂
What colors to paint the wall with? | Magazine Fair Masters
ARTforYOU
So, let’s start in order.
You have decided to draw a picture on the wall.
Wall preparation:
Ideally, the wall should be painted before painting. If not, then primer and paint
. It is better to take the primer from the same manufacturer as the paint. Usually, for each
paint, the manufacturer offers a specific primer. So you definitely can’t go wrong. Painting is best done
acrylic paint, even latex-based.
Fig. 1. Base paint, white for walls.
Painting:
Nowadays, all paintings are done with acrylic paint. There are a lot of varieties of them, but I can say that the differences between them are not as great as the differences in their cost.
What can we use for wall painting:
1. The first and main thing we need is base wall paint (Fig. 1). I usually use base
Dulux or Tikkurila paint. I do not use domestic paints, although they are cheaper, but when
dries in a mixture with other paints, they give a strong color change and have poor hiding power. I mean white or dark gray paint as base paint, to which I add other colors already in
. For very dark shades, there is a special
base for dark shades (dark grey).
Fig. 2. Universal colors.
2. Universal colors . These are colors that are sold in small bottles. Usually they can
tint any type of paint (oil, alkyd, acrylic and others). There is also a color scheme purely for
acrylic, in a larger container. All colors are usually simply added by eye to the paint until the desired color is obtained
.
*This is mainly needed to reduce the cost of the work. With the help of colors and base paint,
can be mixed and painted over the main spots without transferring expensive artistic acrylic to it.
3. Art acrylic . You can use any, but, sadly, imported, in my opinion,
is better. When the budget for painting is not large, then our “Ladoga” is quite suitable. If funds allow, take
German Schmincke or Italian Maimeri.
3. Acrylic paints from various manufacturers.
All acrylic paints can be mixed together and with acrylic based wall paints.
When working with brushes, white is Dulux or Tikkurila for walls, the rest is acrylic from jars and
tubes. You can make a painting with pure wall paints, but they are sold at least by the liter, and
happens that you need just a little paint.
4. Tempera . It can also be used when painting walls, but it comes out much more expensive. Plus
tempera that it has a high hiding power. There are no transparent colors in tempera at all. In
paintings I use white tempera where I need to make bright spots and highlights, and dark for
precise strokes. Acrylic and tempera can be mixed together. Although they have a different basis, but
many years of experience have shown that these mixtures are perfectly preserved.
5. For those who use an airbrush, I can recommend airbrush paints . All paints that
are sold on the Russian market are quite good. I used: Exmix, Aero Color, Airmaster,
Bugton, Schmincke. They are divided into two groups. Some are acrylic based, others are solvent based. Those
that are acrylic based are thinned with water and can be mixed with any other paints for
water based. Those that are solvent based are diluted with a special thinner or 646
thinner (they cannot be mixed with acrylic paints), but they can be painted over
acrylic paints. The advantage of solvent-based paints is that they are very bright and saturated, they do not change color when dried.
Fig. 4. Exmix airbrush paints (the peculiarity of these paints is that they also have pleasant smells).
6. After finishing, any painting should be covered with interior acrylic lacquer. I use:
PANEELI-ASSA from Tikkurila. Covered with a roller or brush in several layers.
I wish you all success in your creative work.