


Spring cognitive activities for toddlers: 20+ Super Fun Toddler Spring Activities
20+ Super Fun Toddler Spring Activities
You are here: Home / Spring Activities / 20+ Super Fun Toddler Spring Activities
by Rachel Cooper
Inside: Looking for some fun toddler spring activities? Here are over 20 inviting activities that will bring nature into your home or classroom!
Spring is one of the best times to bring nature into the home or classroom.
Adding fresh flowers (or fake for something that lasts longer!) to the play-dough table or sensory bin adds a fresh, colorful element.
When searching through spring activities on the internet, I noticed that most of them focus on art elements that are a bit too complicated for young toddlers’ little hands.
These spring activities are specifically selected for toddlers, for hands-on activities that they can enjoy at their skill level.
Scroll down to find links to free printables!
ART
Spring Chicks – Strengthen the hands and fingers with this fun art activity that involves squeezing watercolors.
Rainy Day Window Art – Toddlers will paint on cookie sheets with blue watercolors and press a piece of paper down on top, creating a rainy window effect. (Play, Teach, Repeat)
Egg Carton Flowers – Paint egg cartons with plenty of colorful paint to upcycle these flowers. (I Heart Arts n Crafts)
Tulip Stamps – Cut potato halves to create tulip-shaped stamps for toddlers to dip into paint. (Crafty Morning)
Painting with Flowers – Toddlers will use various flowers as their paintbrushes to create fun textures. (The Cozy Red Cottage)
Coffee Filter Umbrellas – Use coffee filters, markers, and water to create these spring umbrellas to hang in your windows. (Sunny with a Chance of Sprinkles)
Butterfly Process Art – As a class, glue tissue paper onto a large outline of a butterfly to create a colorful wall decoration. (Stay at Home Educator)
CIRCLE TIME
5 Green Frogs – Use this printable to recite the favorite finger play during circle time.
Frog Puppet – Paint a lunch sack with golf balls and turn it into a frog puppet – free printable included!
COLORS
Flower Sorting – Turn your train table into a flower sorting station. Comes with free printable sorting pages.
MATH
Feed the Caterpillar – Roll the die and put that many pom poms into the caterpillar. (Fantastic Fun and Learning)
CLICK HERE for more spring math activities!
SENSORY
Frog Water Table – Add squeezers and strainers for some fun fine motor strengthening.
Rubber Ducks Water Play – Put together a sensory bin inspired by Eric Carle’s 10 Rubber Ducks.
Birds Nest Sensory Bin – Fill a sensory bin with birdseed and pretend birds for preschoolers to place in the little nest. (Fantastic Fun and Learning)
Bugs Sensory Bin – Dye rice green and add plastic bugs, adding little cups for toddlers to scoop. (Fun with Mama)
SCIENCE
Flower Discovery Bottles – Use real flowers to fill these beautiful discovery bottles, allowing toddlers to examine the flowers up close.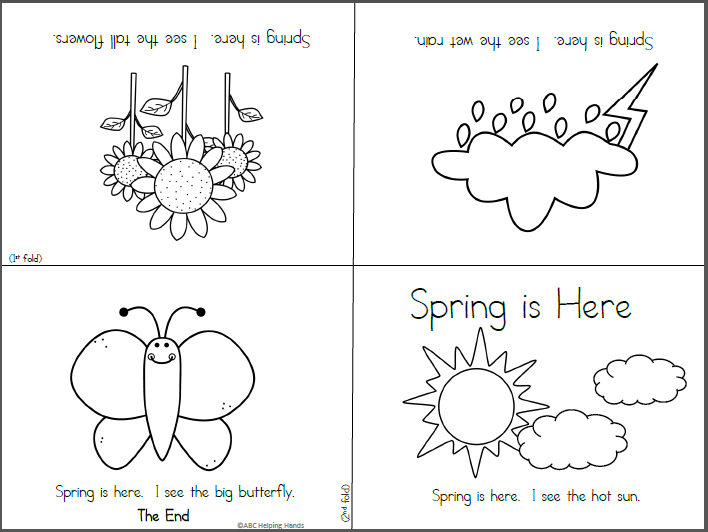 (Little Bins for Little Hands)
CLICK HERE for more spring science activities!
PLAYDOUGH
Flower Playdough – Place brown playdough into small pots for toddlers to push fake flowers into. (Fun with Mama)
Playdough Invitation – Gather nature materials from outside, such as small pinecones, for toddlers to press into the playdough. (Fantastic Fun and Learning)
LITERACY
Letter Matching Flowers – Write letters onto foam flowers and clothespins for toddlers to match up together. (Learn Play Imagine)
LARGE MOTOR
Clouds and Wind – Pretend balloons are clouds while jumping, running, and kicking balloons. (Mama of Littles)
FINE MOTOR
Spring Flower Tray – Push the stems of fake flowers into the holes of a colander.
PRINTABLES
More Spring Activities:
Rubber Ducks Spring Water Table
Alphabet Flower Sensory Bin
Colorful Toddler Butterfly Art with Free Printable
FREE CIRCLE TIME PLANNER!
Get your FREE circle time planner as a gift when you subscribe to my free weekly newsletters.
Here is my Privacy Policy
We won’t send you spam. Unsubscribe at any time.
Powered by ConvertKit
Filed Under: Spring Activities, Toddlers Tagged With: compilation, seasonal, spring, toddler
15+ Spring Math Activities for Preschoolers
You are here: Home / Spring Activities / 15+ Spring Math Activities for Preschoolers
by Sheryl Cooper
Inside: This collection of spring math activities go perfectly with the spring theme. Each one works number recognition and counting skills that can be done with preschoolers at home or in the classroom setting.
Spring is in the air and I am so excited!
I love everything about this season – the frogs croaking in the yard, the caterpillars that will be delivered to our classroom, the seeds we will plant, and the nature walks we will take.
Spring officially enters our classroom in April after we return from spring break.
While colors start popping outdoors, our classroom becomes more colorful, too!
When planning our spring theme, I love to add the season’s touches to all of our learning domains, including math.
I found 10 fun, hands-on spring math activities that can be done in the classroom at the activity table or during small groups.
For those of you at home, these can easily be done at the kitchen table.
The chalk counting garden activity, however, is a fun outdoor activity that can be done during recess or in your driveway.
Each of these ideas provide opportunities to build number recognition and counting skills.
Free printables included!
Spring Math Activities for Preschoolers
Art
Flower Counting: Make your own flowers and use them for a fun counting activity!
Ladybug Counting Craft: While making a ladybug, use a number line to count the legs before adding them to the body.
Fingerprint Counting: Download the free templates to create caterpillars, ladybugs, and flowers. (Fun Handprint Art)
CLICK HERE for more spring art activities!
Outdoors
Chalk Counting Garden: Create an outdoor garden using chalk and count the petals on the flowers. (Fantastic Fun and Learning)
Printables
Spring 1-10 Counting Cards
Bug Counting Puzzles
Butterfly Number Puzzle
Count the Raindrops: Download the free printable for a fun number recognition and counting activity. (School Time Snippets)
Fruit Loops Rainbow Counting: Use the ten frame rainbow cards to practice counting 1-10. (Preschool Play and Learn)
Literacy
Flower Counting Booklet: Give each child their own personal book to work on counting and fine motor skills – free printable.
Playdough
Playdough Counting Garden: Same idea as the chalk counting garden, except this one uses playdough. (Fantastic Fun and Learning)
Circle Time
Numbered Flowers: Use these on a flannel board or magnetic board while singing flower counting songs.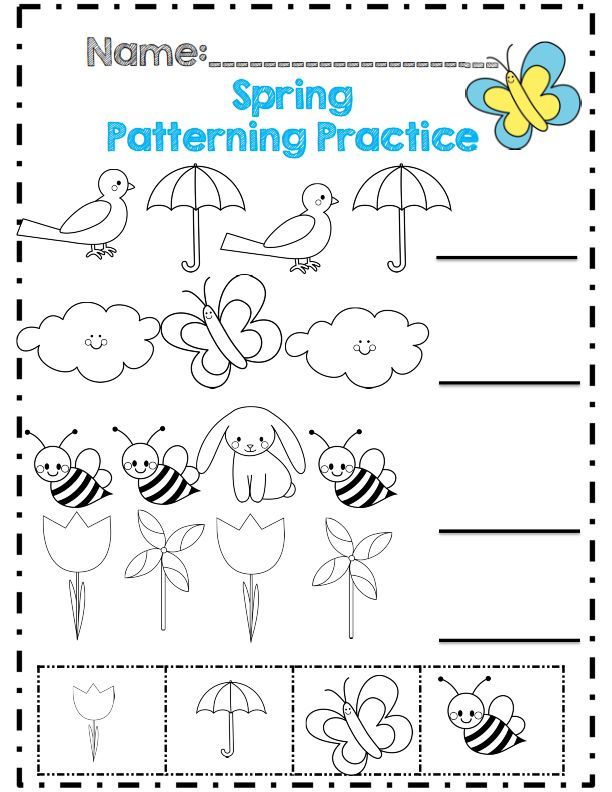 (Free Printable)
Five Green Speckled Frogs Activity: Download the free printable and work on counting skills with this favorite finger play.
Music and Movement
5 Little Bunnies: Download the free printable puppets to use while reciting this spring finger play. (Let’s Play Music)
Games
Frogs Counting Game: Create a simple pond and then count the number of spots on the dice, adding that many frogs to it. (Rainy Day Mum)
Counting with Spring Flowers: Identify the number on the card and add that many flowers to the strip of paper. (Powerful Mothering)
Fine Motor
Counting Carrots: Cut triangles for carrots and glue the number of green stems that correspond to the number on each one. (Housing a Forest)
Egg Cracking: This easy to set up activity works on fine motor skills along with counting and number recognition. (Modern Preschool)
Sensory Bins
Frog Counting Activity: Make your own lily pads out of foam, number them, and add the appropriate amount of frogs to each one. (Early Learning Ideas)
Counting Caterpillars: This activity works on color and number identification, sorting, patterning, and one-to-one correspondence.
CLICK HERE for more spring sensory bin ideas!
FREE CIRCLE TIME PLANNER!
Get your FREE circle time planner as a gift when you subscribe to my free weekly newsletters.
Here is my Privacy Policy
We won’t send you spam. Unsubscribe at any time.
Powered by ConvertKit
Filed Under: Math, preschool, Preschool Math, Spring Activities Tagged With: math, preschool, printable, spring
About Sheryl Cooper
Sheryl Cooper is the founder of Teaching 2 and 3 Year Olds, a website full of activities for toddlers and preschoolers. She has been teaching this age group for over 20 years and loves to share her passion with teachers, parents, grandparents, and anyone with young children in their lives.
Reader Interactions
10 spring activities with children
Spring is the time when nature wakes up. And we are with her. This is a time of renewal, pleasant plans, long walks in the first warm sun, and exciting spring activities that both you and your child will enjoy.
put together a birdhouse
Starlings are the very birds whose appearance in city squares and parks in spring pleases us more than ever. You can celebrate the return of starlings and hang a beautiful and comfortable house for them on a tree. There are even special sets with which you will have
Assemble your own birdhouse
and put all the pieces together following the simple instructions. You can paint it later or leave the tree untreated. In any case, the starlings will love it.
By the way, starlings winter in India, Southern Europe and sometimes even reach North Africa. Can you imagine how long it took these little birds to come back to us?
Male starlings always arrive first. For several days they prepare a place for the future couple and family, and only then do the females arrive.
Attention to these cute birds and taking care of their home will be a pleasant beginning of a conscious attitude to nature in a child.
Arrange a garden on the windowsill
Children love to watch how everything around them changes. And, if the child has grown up a little and can be patient, spring is the time to try to plant a small
home garden on the windowsill with him
.
Sow dill, parsley, lettuce and other greens in pots of soil. Egg cartons or special plastic trays are suitable for planting. The seeds will germinate fairly quickly, and early greens will appear at home. Connect the baby at all stages – let him loosen the ground, bury the seeds, water and monitor the seedlings. Together you can make signs with names or images of greenery and stick them into the beds.
You can also germinate pea and bean seeds. Lay a layer of cotton wool or cotton cloth on a plate. Moisten it, spread the seeds and cover them with exactly the same wet layer of cotton wool or cloth. Make sure that the fabric does not dry out and remains moist at all times. In a few days, the seeds will germinate. You can continue to observe how they germinate, or transplant into pots.
The easiest option is to sprout a spring onion by dipping its tail into a glass of water.
Watching how the plants planted by his hands grow, the child will learn to appreciate work and expect results, will be able to be attentive to what is happening and most likely will love to eat greens and vegetables.
Fly a kite or make a pinwheel
Of course, the wind blows not only in spring. But in the spring it warms up, becomes especially affectionate and pleasant. It is a pleasure to turn his face to listen to him and .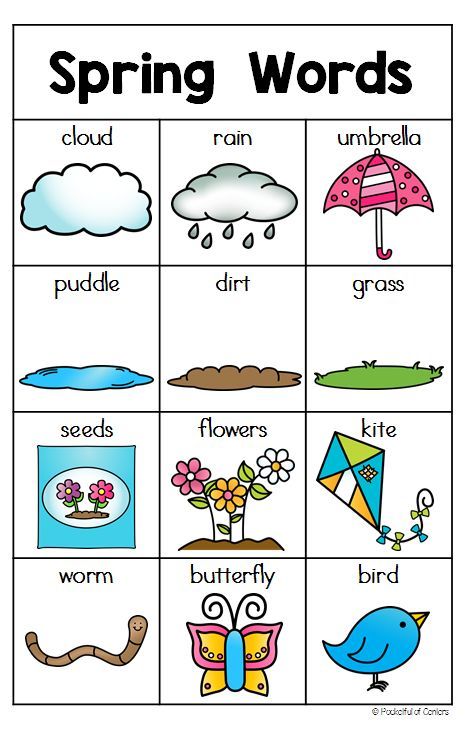 .. watch the wind. The simplest turntable (or “breeze”) will help with this. You can buy it or
DIY paper fold
. And then – to scatter along the alley in the park and watch the spring wind rustle the colored petals of a hand turntable. By the way, a good way to show the child what wind force, speed and direction are.
Launch boats and play in puddles
Yes, we watch with horror as the kids reach for the puddle in the hope of stepping into it and waving their hands. But, if you dress appropriately for the weather (rubber boots and a waterproof suit on top of ordinary clothes), the child can be allowed to do this with ease and joy. The buzz from interacting with a good puddle is guaranteed.
Take plastic caps from home and start the boats. Or you can throw cones into a puddle, take an unnecessary bucket or ladle and play fishing. Children also like to measure the width of the puddle with steps, and the depth with a long stick. The first physics lesson is also easy to conduct right in a puddle – put various objects there that you don’t mind getting wet. Some will sink, and some will float to the surface.
Bring a twig home and grow leaves
Pick a small branch of a tree in the park and bring it home. Choose the right glass or jar to put it in and watch the changes every day. The buds will swell, the first leaves will slowly break through. Tell your child how and why this is happening. He will like to keep track of tiny changes.
To plant a tree
Your tree in the country or in the yard, is that cool? To do this, you can take a small seedling, but even better – find last year’s chestnut, acorn or maple spout on the ground. They hibernated under the snow. Do you think the seeds are dead? Then remove the skin and most likely you will see a green sprout under it.
First, put your child in a pot with earth. When the sprout looks out, transplant it into the ground. Surround the small plant with chopsticks so that someone doesn’t accidentally step on it. Teach your child to water the tree if the ground is not moist enough and loosen it. Watch your child grow with him.
You can take a picture next to a sprout this summer, and then next year, and a year later. This will help you see your tree and your child grow with it. Over time, he will like to look at these photos.
Help the birds build a nest
Birds build nests in spring. To do this, feathered friends use surprisingly different materials – grass stems and leaves, roots, twigs, algae, moss, lichens, pieces of bark, plant fluff, plant fibers and insect cocoons, cobwebs, wool, hair, paper, cotton wool, rags, their saliva , earth, clay. Tell your child about it and provide the birds with new unusual building materials. To do this, put pieces of cotton wool, straw, fluffy threads, feathers and everything that comes to hand suitable (avoid synthetic and sharp materials) in a bow net. Make a few holes in the net and hang it next to the feeder. Now you can see which birds visit your small warehouse and which building material is popular with them.
Learn cloud names
In spring, especially in April, very beautiful and diverse clouds appear in the sky. Watching them is a pleasure. Draw your child’s attention to how they differ depending on the weather, wind strength and time of day. Memorize their meteorological names and go on a cloud “hunt”. Which ones did you meet today?
Arrange general cleaning
The scale of what is happening, of course, you choose and regulate. Together with the baby, you can disassemble the closet with clothes, put the winter clothes away and get light spring and summer clothes. And along the way – dress up, measure everything and arrange a competition for the most ridiculous and bright costume.
You can go to the dacha and put your house and garden in order after the winter. Or sort through the toys, putting aside those that the child no longer plays to give to friends or to a charitable organization.
Spring is a time of renewal and cleansing, and any kind of cleaning will help you tune in to this pleasant wave. The main thing is to let the baby participate in all safe processes, do not criticize him for the fact that so far something is not perfect. Support, let’s try to dust, vacuum, put things in the closet, take the garbage to the bucket and much more.
Tender and warm spring to you and your children.
7 useful activities for spring break: fun and educational
Olesya Akhmedzhanova
Holidays are joy. You can do nothing and walk, walk, walk. But so that your student (and not only) does not forget everything in the world, we have chosen several useful and creative tasks for him. They are fun, exciting and even delicious. See →
Marmalade constructor
Creative workshop
Assembling constructions from marmalade and toothpicks, the child comprehends one of the basic principles of building mechanics: a triangle is stronger than a square, because it does not change shape, while a square can move ” and turn into a parallelogram. Bonus: By sticking toothpicks into sticky material, your child will improve fine motor skills and hand-eye coordination. And besides, it’s a lot of fun!
You will need
- Chewing gum, grapes, hard marshmallows or soft plasticine
- Toothpicks
Put marmalade in one container and toothpicks in another and invite your child to build. Let him play with the materials for a bit and then show him how to build squares and triangles. Play with these figures and ask the child which one seems stronger to him.
Use dried spaghetti instead of toothpicks. Spaghetti is not so strong, but it can be broken, which means that the child can make structures of different sizes and insert diagonal braces into the squares. With such a spacer, the square turns into two triangles, which means it becomes stronger.
From the book Creative Workshop
Do It Yourself
Sophie and Plateau finish painting geometric shapes, creating various interesting pictures from them.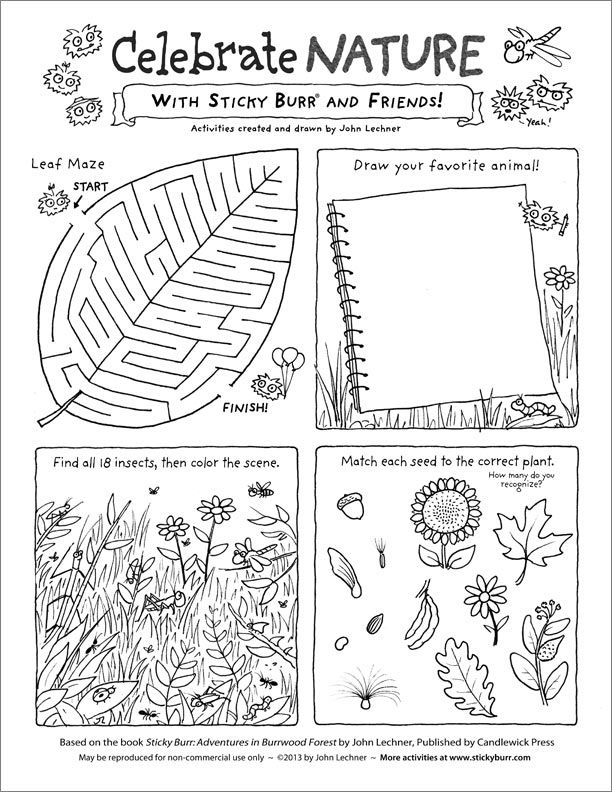 Help them and come up with as many drawings as possible. If you have more ideas than empty shapes on the pages of the book, continue drawing on a separate piece of paper.
Think 2
From the book Think 2. Download →
Collect the word
Source
The goal of this funny game is for the child to independently assemble a real word from the sounds and letters he knows. And you will need the simplest props: ordinary cardboard cards with letters and a dice.
What you need
- 5 cards 7.5 x 13 cm
- Scissors
- Black and red markers
- Dice
- Paper
- Pencil
Preparation
1. Cut all the cards in half.
2. Write one letter on each piece. At the same time, two of them should indicate vowel sounds, the remaining eight – consonants. For example: a, i, d, e, k, m, p, p, s, v.
How to play
1. Turn the cards face down.
2. Have the child roll the die and say out loud how many dots are on the top of the die. (If there are less than three points on the edge, the player skips a turn).
3. Now he needs to take the appropriate number of cards.
4. From the letters on the selected cards, the child must form a word.
5. Finally, ask the child to write this word down on paper.
6. Have the player continue to make words until the options run out (but no longer than three minutes). Then together count the number of written words.
7. Turn over the cards and pass the die to the next player.
8. After three rounds, count the total number of words you have completed. The one with the most words wins.
Variations
- For children who are just starting to read, you can leave the vowel card open, flipping only the consonants.
- At the end of the game, invite the children to choose three words and come up with a sentence with them.

- Open all the cards and together write down the words that can be formed from the letters written on them.

From the book Learning by playing
Air plasticine
If your children have never played with such an unusual material as air plasticine, then you should use this simple recipe for making it.
You will need:
- 1.7 kg plain flour,
- sensor box,
- 1 cup vegetable oil,
- a few drops of lavender or other essence,
- rolling pins,
- cookie cutters,
- spoons and various containers.
Pour a heap of flour into the sensor box. Make a well in the center and pour vegetable oil into it. Mix flour with butter with your hands. If desired, add a few drops of essence to give the mass a pleasant scent. Air plasticine is ready to play! Take it in a handful and squeeze your fingers. What will happen?
Scrape the plasticine off your fingers and try again. Blind the slide and make holes in it with your finger. Fill the bowl tightly with plasticine and turn it over – what will happen?
After a while, ask the child what else can be used to play with air plasticine. Store unused plasticine in a large resealable bag or in an airtight plastic container at room temperature. Plasticine will be stored until the oil goes rancid. To check whether plasticine is suitable for use, it is enough to smell it.
From the book “Creative Workshop”
Printing path
Have you ever created your own board game? If you have paper, a pencil and the ability to draw circles, it will be very easy – and the child will take an active part in the process.
Props
- Paper
- Pencil
- Baby Stamps (you can buy ready-made or cut your own on erasers and even halves of potatoes)
- Dice
Preparation
1. Take a sheet of paper and ask your child to draw circles on it, lining them up in one path (you can help him if he can’t do it himself). The line can bend in any direction. The more circles, the better.
2. At the beginning of the line, write the word START. At the end, after the last circle, is the word FINISH.
How to play
1. Have the player put his stamp on the word START. If there are several players, you can use prints of different colors.
2. Invite the first player to roll the die. The number that comes up is the number of prints to put in the circles as you move forward along the path to the finish line. Let the child count them aloud as he sets the seals.
3. Time to pass the die to the next player. Now he rolls the die and places his seals.
4. The winner is the one whose stamp reaches the finish line first!
Options
- Make bonus circles. The player whose seal lands on them will be entitled to one extra turn!
- Use a table with numbers from 1 to 100 as a playing field.
- Replace the seals with coins or chips (each player should have their own) so that the game board can be reused.

From the book Learning by Playing
Bouquet of Flowers and Open Thinking
Sophie and Plateau like to give each other interesting tasks in which you have to come up with unusual things. Help them creatively draw the vertical lines. Finish his fairy lawn drawing or create something of your own
From Think 2. Download →
Photofigures
Children love looking at their own picture. Such interest should be turned to good in order to form the child’s skill in identifying any forms. Make memory and shape recognition a fun game using photos. Take photos, make curly frames for them and invite the children to find pairs of identical images. So they learn a new way to find matches, training their attention and memory.
Learning by playing
What you need
- Photos
- Heavy paper
- Scissors
- Glue stick
From Learning by Playing
Preparation
1. Print pictures of your children.
2. Take sheets of paper according to the size of the photographs. Cut out a circle, a triangle, a square, a rectangle, a diamond, and a star in the middle of each sheet so that these indentations become frames that can be pasted onto photographs. Make two of each type.
3. Place curly frames on top of all photos.
How to play
1. Arrange your finished photos on the table with the images facing down.
2. The player makes a move by flipping two pictures at once. If the figures on them match, this pair of shots is put aside. If not, both pictures are again placed face down on the table, and the turn passes to the other player.
3. The game continues until all pairs have been found.
Variants
- Draw patterns on photo frames.
- Use a utility knife to cut shapes directly from photographs.
- Use the shape and the photo it’s cut from as part of the jigsaw puzzle: have the children look for frames to match each shaped photo.
